7 Most Common Appliance Problems in Fresno & Clovis — DIY Fixes & When to Call a Pro
Fresno summers are brutal on appliances. Hard water, triple-digit heat, and heavy use create the perfect conditions for breakdowns. Here's what we see most often — and exactly what to do about it.
When an appliance breaks in Fresno or Clovis, it never happens at a good time. Maybe the fridge stops cooling the night before a party, or the washer quits mid-cycle on a school morning. At MVI Appliance, we've handled thousands of service calls across the Central Valley — and the same seven problems come up again and again.
This guide walks you through the real diagnostic steps to try at home before calling a technician, with honest advice on when something is beyond DIY — because a $150 repair shouldn't turn into a $600 one from guesswork.
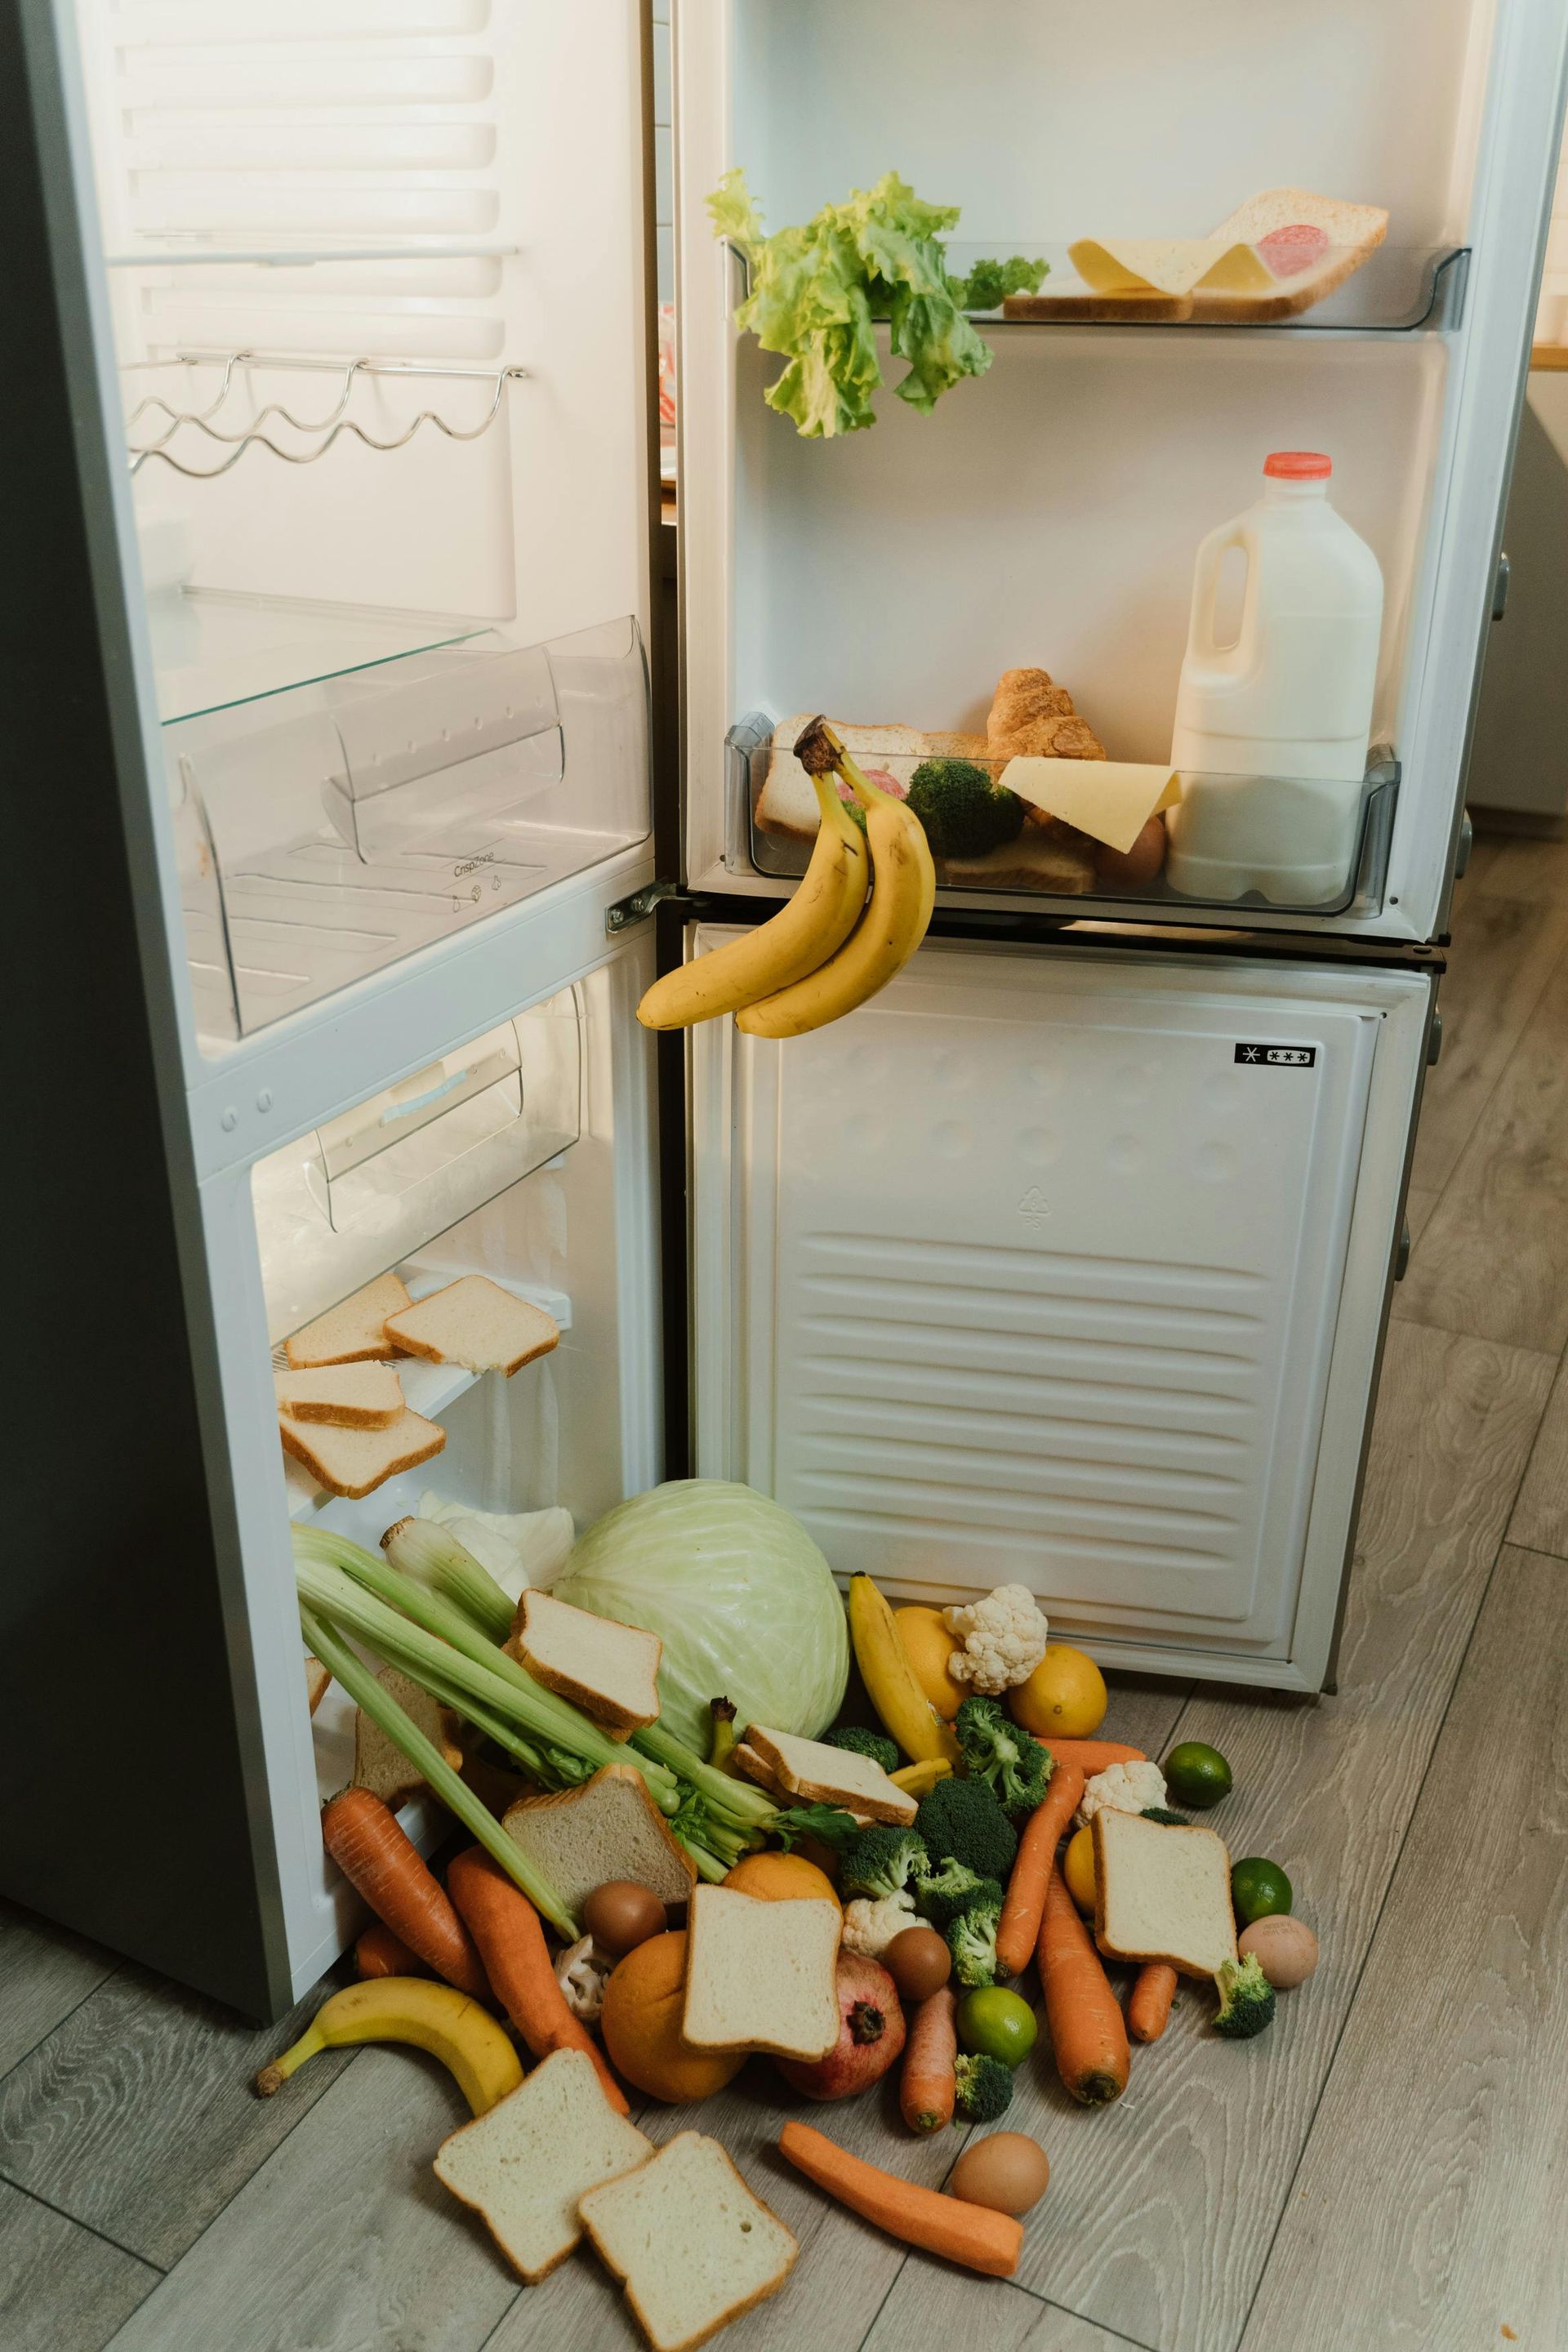
Symptom — food spoiling faster than usual Refrigerator Not Cooling
This is the most common call we get in Fresno from June through September. When outdoor temps hit 105°F, your fridge's condenser works overtime — and components that were barely holding on give out fast. The good news is that most "fridge not cooling" issues have a DIY-fixable cause you can check in under 15 minutes.
- Clean the condenser coils. Dust buildup on the coils behind or beneath the fridge is the number-one cause of poor cooling in Fresno. Unplug the fridge and vacuum them with a brush attachment. If it's been more than 6 months, this alone may fix the problem.
- Check for airflow issues. Leave a few inches of clearance behind the fridge. An overstuffed interior also strains the cooling system — air needs to circulate between items.
- Test the door seal. Close the door on a dollar bill. If it slides out easily, the gasket is worn and letting warm air in. Replacement seals cost $20–50 and snap on without tools.
- Listen for the evaporator fan. Open the freezer — you should hear a fan running. If the freezer is cold but the fridge isn't, the evaporator may be iced over. Unplug the unit for 24–48 hours to fully defrost, then restart.
- Check temperature settings. Fridge should be at 37°F, freezer at 0°F. Power outages often reset control boards to factory defaults.
Symptom — standing water in drum, won't spin, error codes Washer Won't Drain or Spin
A washing machine that leaves clothes soaking wet is one of the most disruptive breakdowns in any home. The cause is often surprisingly simple — and fixable in 10 minutes with no tools at all.
- Clean the drain pump filter. Most front-loaders have a small access panel at the bottom front. Open it, lay a towel down, unscrew the filter cap slowly, and drain the water. You'll almost certainly find a coin, sock, or hair tie inside. This is the single most common cause of drainage failure.
- Check the drain hose position. The drain hose should enter the standpipe no more than 6–8 inches deep. Pushed too far in or kinked behind the machine, it creates a siphon effect that prevents draining.
- Reduce your load size. An overloaded washer can't balance the drum and will stop mid-spin as a safety measure. Remove a few items and run a spin-only cycle.
- Power cycle the machine. Unplug for 60 seconds, then plug back in. Most modern washers clear stuck error codes with a simple reset.
Tried the DIY checks and still stuck?
MVI Appliance serves Fresno, Clovis, and Madera with same-day and next-day appointments. No travel fee within our service area, no weekend surcharge, and a flat diagnostic fee that covers identifying the problem.
Book a service call →Symptom — clothes still damp after a full cycle Dryer Takes Too Long or Has No Heat
A dryer that takes two or three cycles to dry one load is costing real money on your energy bill — and creating a fire hazard. Restricted airflow is behind roughly 80% of dryer performance complaints, and it's almost always a maintenance issue, not a parts failure.
- Clean the lint trap before every load. Not weekly — every single load. A partially clogged trap adds 20–30 minutes to a cycle and significantly raises fire risk.
- Inspect the exterior vent cap. Find where your dryer vents outside and confirm the duct flap opens freely when the dryer runs. Bird nests, lint buildup, or a heat-damaged flap stuck shut can cut airflow to near zero.
- Check the full duct run. Ducts longer than 25 feet, multiple bends, or flexible plastic accordion hose (instead of rigid metal) all restrict airflow. Metal ducting is significantly more effective.
- For gas dryers: confirm the gas shutoff valve behind the unit is fully open — handle parallel to the pipe. A partially closed valve causes weak or intermittent heat.
Symptom — white film on glasses, dirty dishes, water pooling Dishwasher Not Cleaning Properly
White film on your glasses is one of the most Googled dishwasher complaints in Fresno — and it almost always comes down to our water. The Central Valley has notoriously hard water, meaning high calcium and magnesium that leave mineral deposits on everything. It's usually not the dishwasher failing; it's the water chemistry.
- Use rinse aid — always. In Fresno's hard water, rinse aid is not optional. It's the single most effective thing you can do against white film. Check the dispenser monthly.
- Run a descaling cycle. Place a cup of white vinegar in the top rack and run a hot empty cycle. Follow with a sprinkle of baking soda on the bottom and run another short hot cycle. Do this monthly.
- Clean the spray arm nozzles. Remove the spray arms (usually unscrew counterclockwise) and use a toothpick to clear each hole. Clogged nozzles mean uneven water coverage and dirty dishes.
- Clean the filter basket. Most modern dishwashers have a removable cylindrical filter at the bottom of the tub. Twist it out, rinse under warm water, and scrub lightly. A clogged filter recirculates dirty water.
Symptom — uneven cooking, slow preheat, one side burned Oven Not Heating Evenly or at All
If cookies come out burnt on one side and raw on the other, or your oven takes forever to preheat, the fix is often simpler than you think. Electric ovens most commonly fail at the heating element — a visible component you can inspect and often replace yourself. Gas ovens typically fail at the igniter.
- Calibrate with an oven thermometer. Most ovens run 25–50°F off from their display, and this gets worse over time. A $10 thermometer tells you exactly where yours stands. Many ovens let you offset calibration in the settings menu.
- Inspect the bake element (electric ovens). The bake element runs along the bottom of the oven cavity. With the oven off and cooled, look for any cracks, blisters, or a burn mark. If you see damage, the element needs replacing — inexpensive parts, generally straightforward with a screwdriver.
- Watch the igniter (gas ovens). When you turn on a gas oven, the igniter should glow bright orange-white and light the burner within 90 seconds. A dim or dull glow that never ignites the gas means a weak igniter — don't leave it trying for more than 2 minutes.
- Check the door gasket. If the seal around the oven door is torn or sagging, heat escapes and the oven can't hold temperature. Door seals clip on without tools and cost under $30 for most models.
Symptom — no ice, small hollow cubes, or ice tastes off Refrigerator Ice Maker Stopped Working
Ice makers are failure-prone partly because they're complex, and partly because they interact directly with Fresno's mineral-heavy water. Deposits, frozen supply lines, and worn parts are all common causes. Run through these checks before booking a technician.
- Check the bail arm or on/off switch. Every ice maker has a shutoff — either a metal wire bail arm or a physical switch. It gets bumped more than you'd think. Make sure it's in the enabled position.
- Replace the water filter. Most manufacturers recommend a new filter every 6 months. A clogged or expired filter reduces water flow enough to stop ice production entirely. The filter is usually inside the fridge or in the bottom grille.
- Inspect the water supply line. The supply line runs behind the fridge to a saddle valve on your cold water pipe. Check that the valve is open and the line isn't kinked or frozen at the entry point into the freezer.
- Clear a jammed ice maker. Try pressing the reset button on the side of the ice maker module. If you see a visible ice jam, a hairdryer on low from a distance can melt it safely — never use anything sharp inside the ice maker.
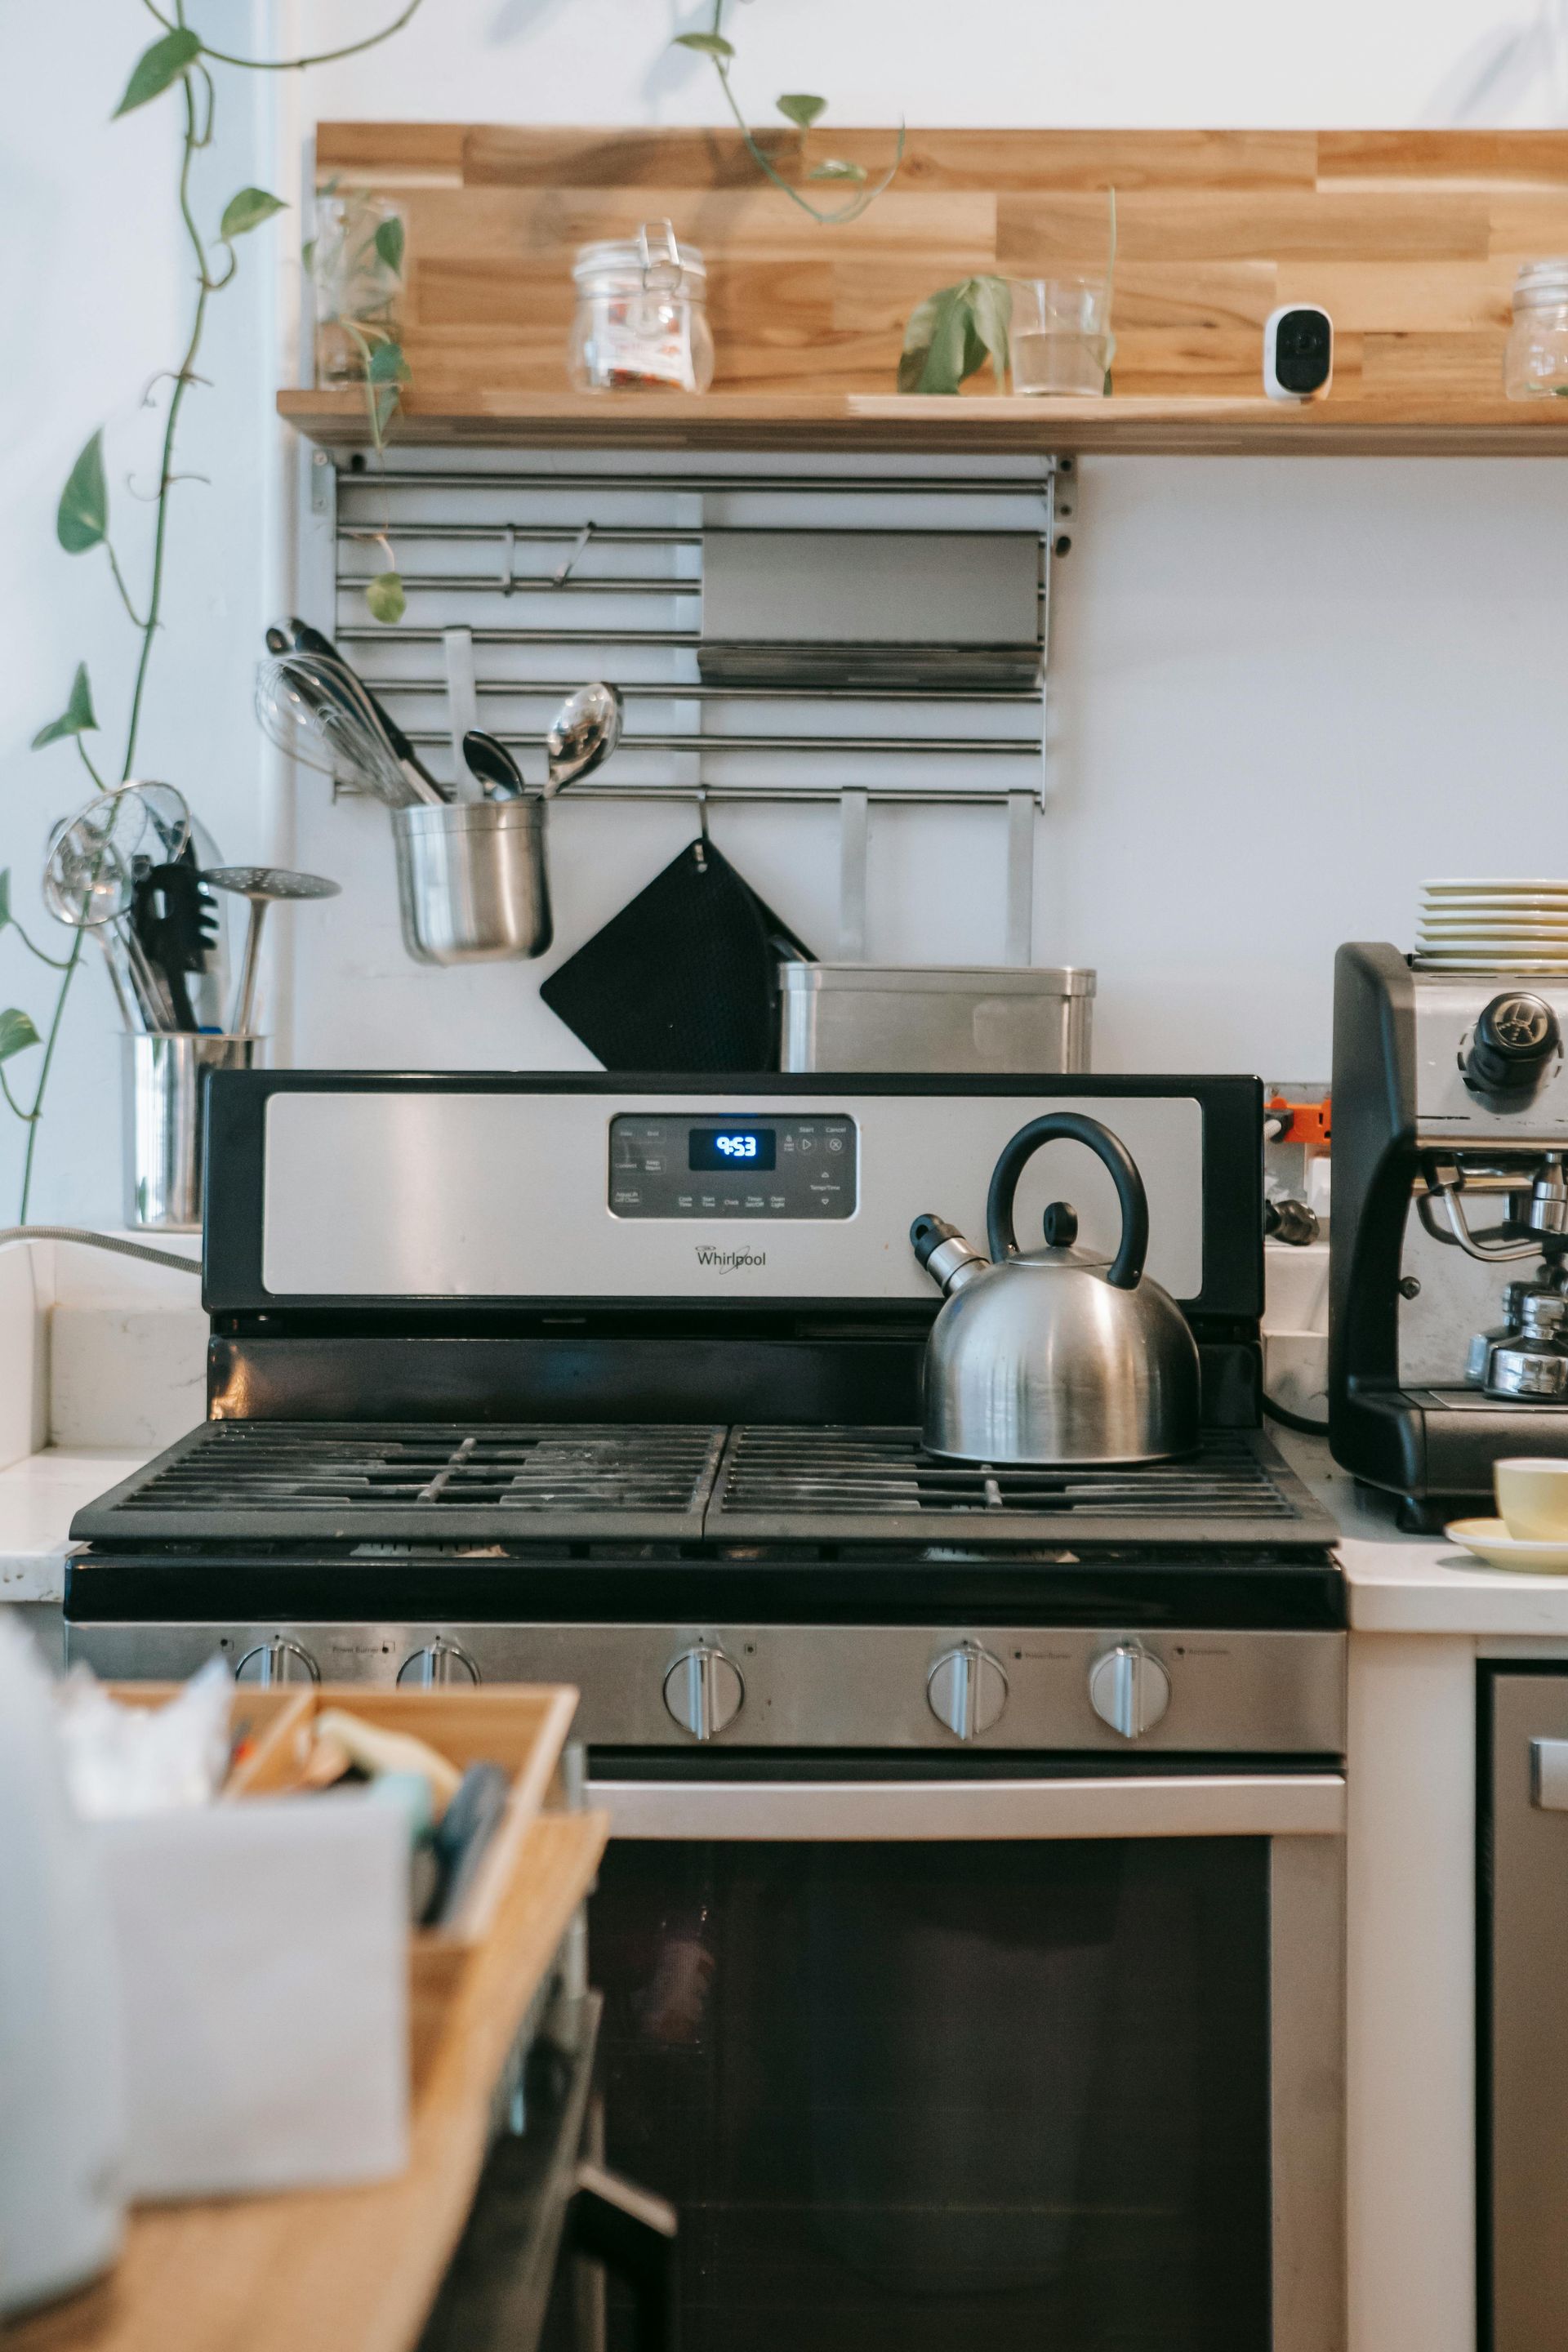
Symptom — clicks but no flame, one burner dead Gas Stove Burner Won't Ignite
A gas burner that clicks endlessly but won't light is one of the most frustrating kitchen problems. The fix is almost always a 5-minute cleaning job — food debris and grease around the igniter is the cause behind the vast majority of these calls.
- Clean the igniter and burner cap. Lift off the grate and burner cap. Use a toothpick or stiff brush to clean out the igniter port holes around the burner base. Even a small amount of boiled-over liquid can block ignition. Dry everything thoroughly before testing.
- Reseat the burner cap flat. After cleaning, make sure the burner cap sits level on the burner base. Even slightly off-center prevents the igniter from lighting the gas properly.
- Let it dry after cleaning. If you recently washed the stovetop, moisture in the igniter module will cause clicking without ignition. Give it a few hours to dry, or use a hairdryer on low from a distance.
- Isolate which burner is affected. If only one burner fails and others work, the problem is confined to that burner's igniter electrode — an inexpensive part that can be replaced with a screwdriver.
Most of the checks above are safe, free, and genuinely effective. But there's a line — and crossing it can turn a $150 repair into a $600 one, or worse, a safety hazard.
DIY is appropriate when the fix involves cleaning, unclogging, resetting, or replacing an accessible component like a filter, lint trap, or door seal. None of these require specialized tools or involve gas lines, refrigerant, or high-voltage systems.
Call a professional when the repair involves the compressor or refrigerant system, any gas line connection, the control board, or when you've run through every check above and nothing has changed. Misdiagnosis is expensive — guessing wrong and ordering the wrong part often costs more than a service call from the start.
At MVI Appliance, our diagnostic fee covers the labor to properly identify the problem — not just a surface-level guess. We arrive with the most common parts for the models we regularly service in Fresno and Clovis, which means most repairs are completed on the first visit.
Appliance acting up in Fresno or Clovis?
Licensed, insured, and family-owned — MVI Appliance has served the Central Valley with honest, reliable repairs since day one. No hidden fees. No weekend surcharges. Just the job done right.